Welcome to the last part of our tutorial series! In this step, we will configure OpenVPN so that you can securely connect to your GOAD lab environment directly from your local machine.
The previous articles are available here:
To make things easier, we will use the OpenVPN Wizard as well as the openvpn-client-export package. These tools will help us create a remote access server and generate the necessary configuration files for a smooth connection.
Let's start with the OpenVPN remote access server configuration.
OpenVPN
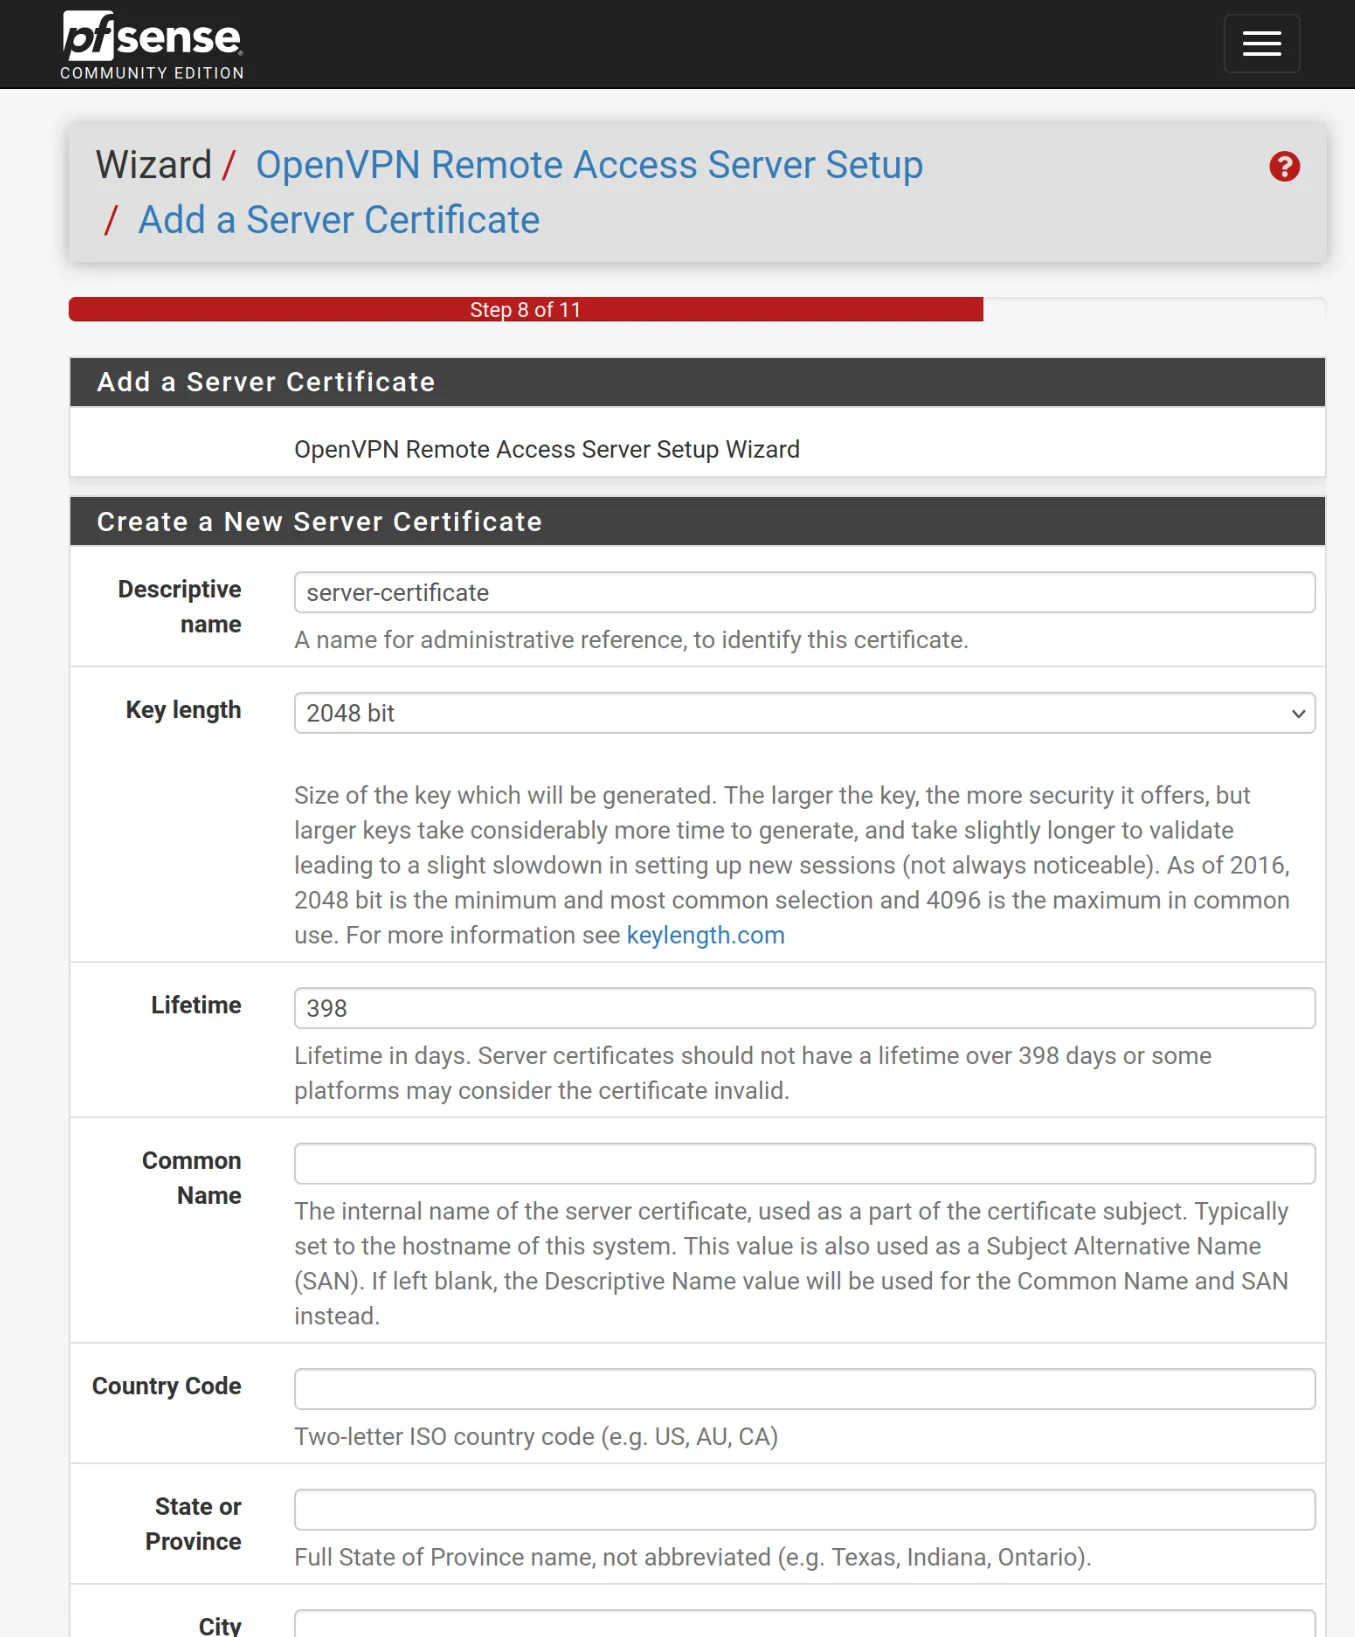
In this step, we will go through the key settings you will use when creating your OpenVPN server with the OpenVPN Wizard
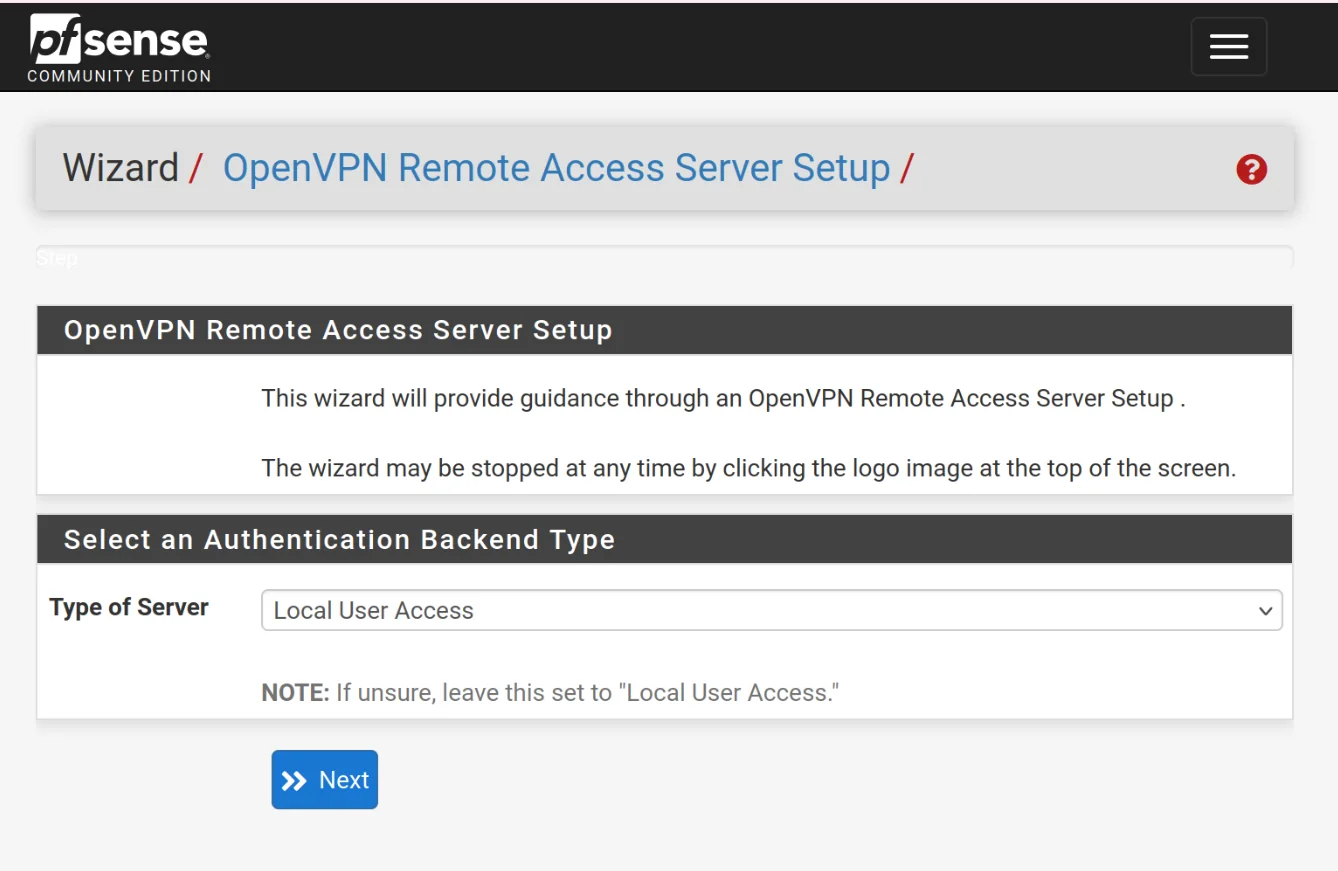
- Choose Local User Access
- Description: openvpn (You can put whatever you want)
- Port: 1194 (default OpenVPN port)
- IPv4 Tunnel Network: 10.10.10.0/24
- IPv4 Local Network: 192.168.10.0/24 (Keep the same network as configured for VLAN10)
- Topology: net30 - Isolated /30 network per client
- DNS Server 1: 192.168.10.1 (Using pfsense for internal DNS)
User Manager
Now, we create a user who will be able to connect to the VPN.
- Go to the User Manager
- Create a user
- Choose the username you want as well as a secure password
- Don't forget to check the box to open the options for creating a user certificate

Install client-export
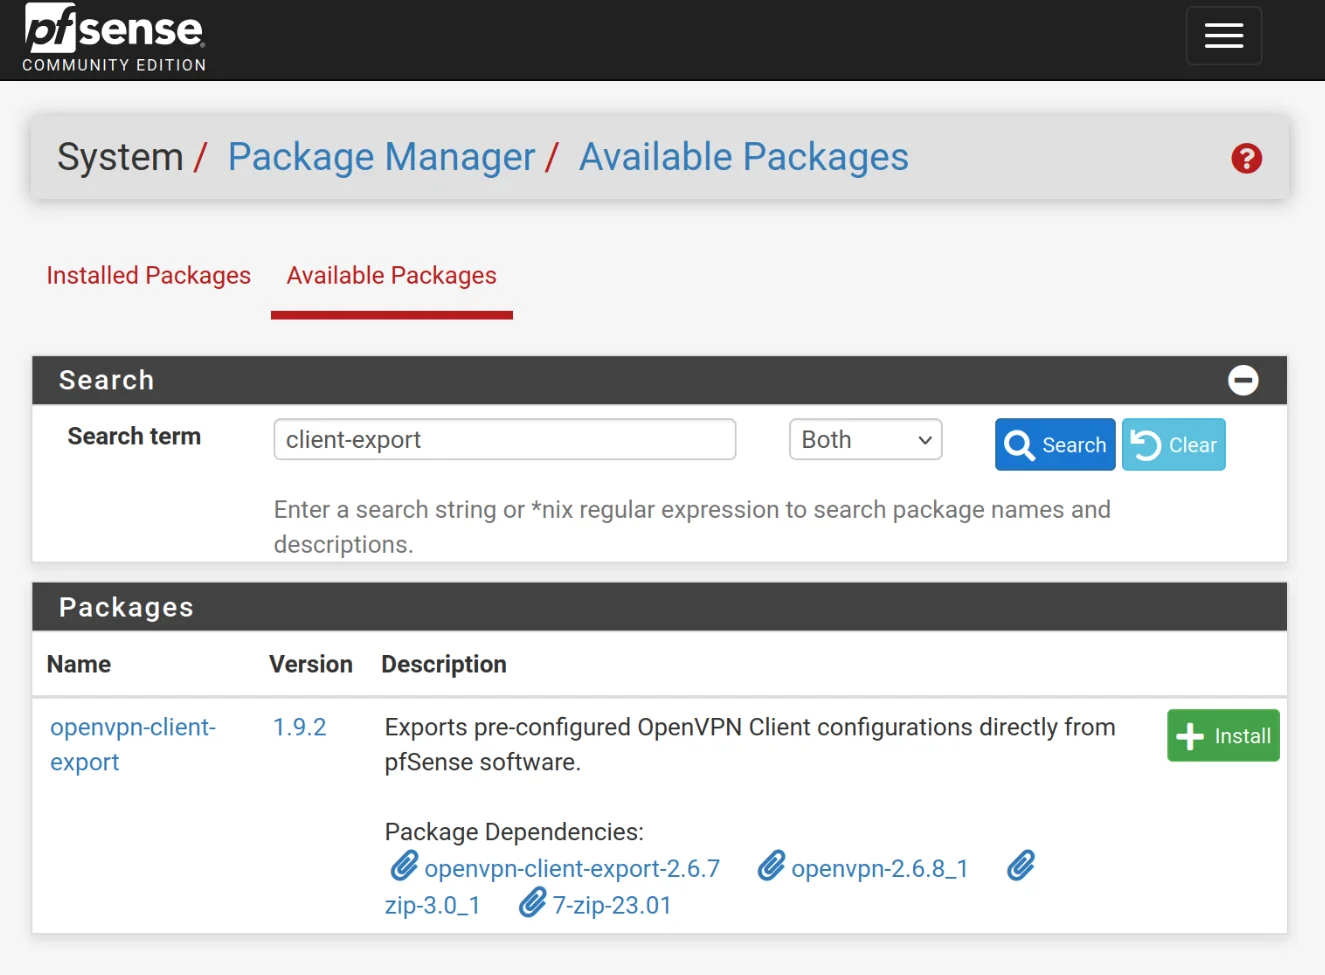
We will install the OpenVPN Client Export package to facilitate the generation of a VPN configuration file.
Go to System -> Package Manager -> Available Packages and click to install openvpn-client-export
VPN Clients
OpenVPN / Client Export Utility
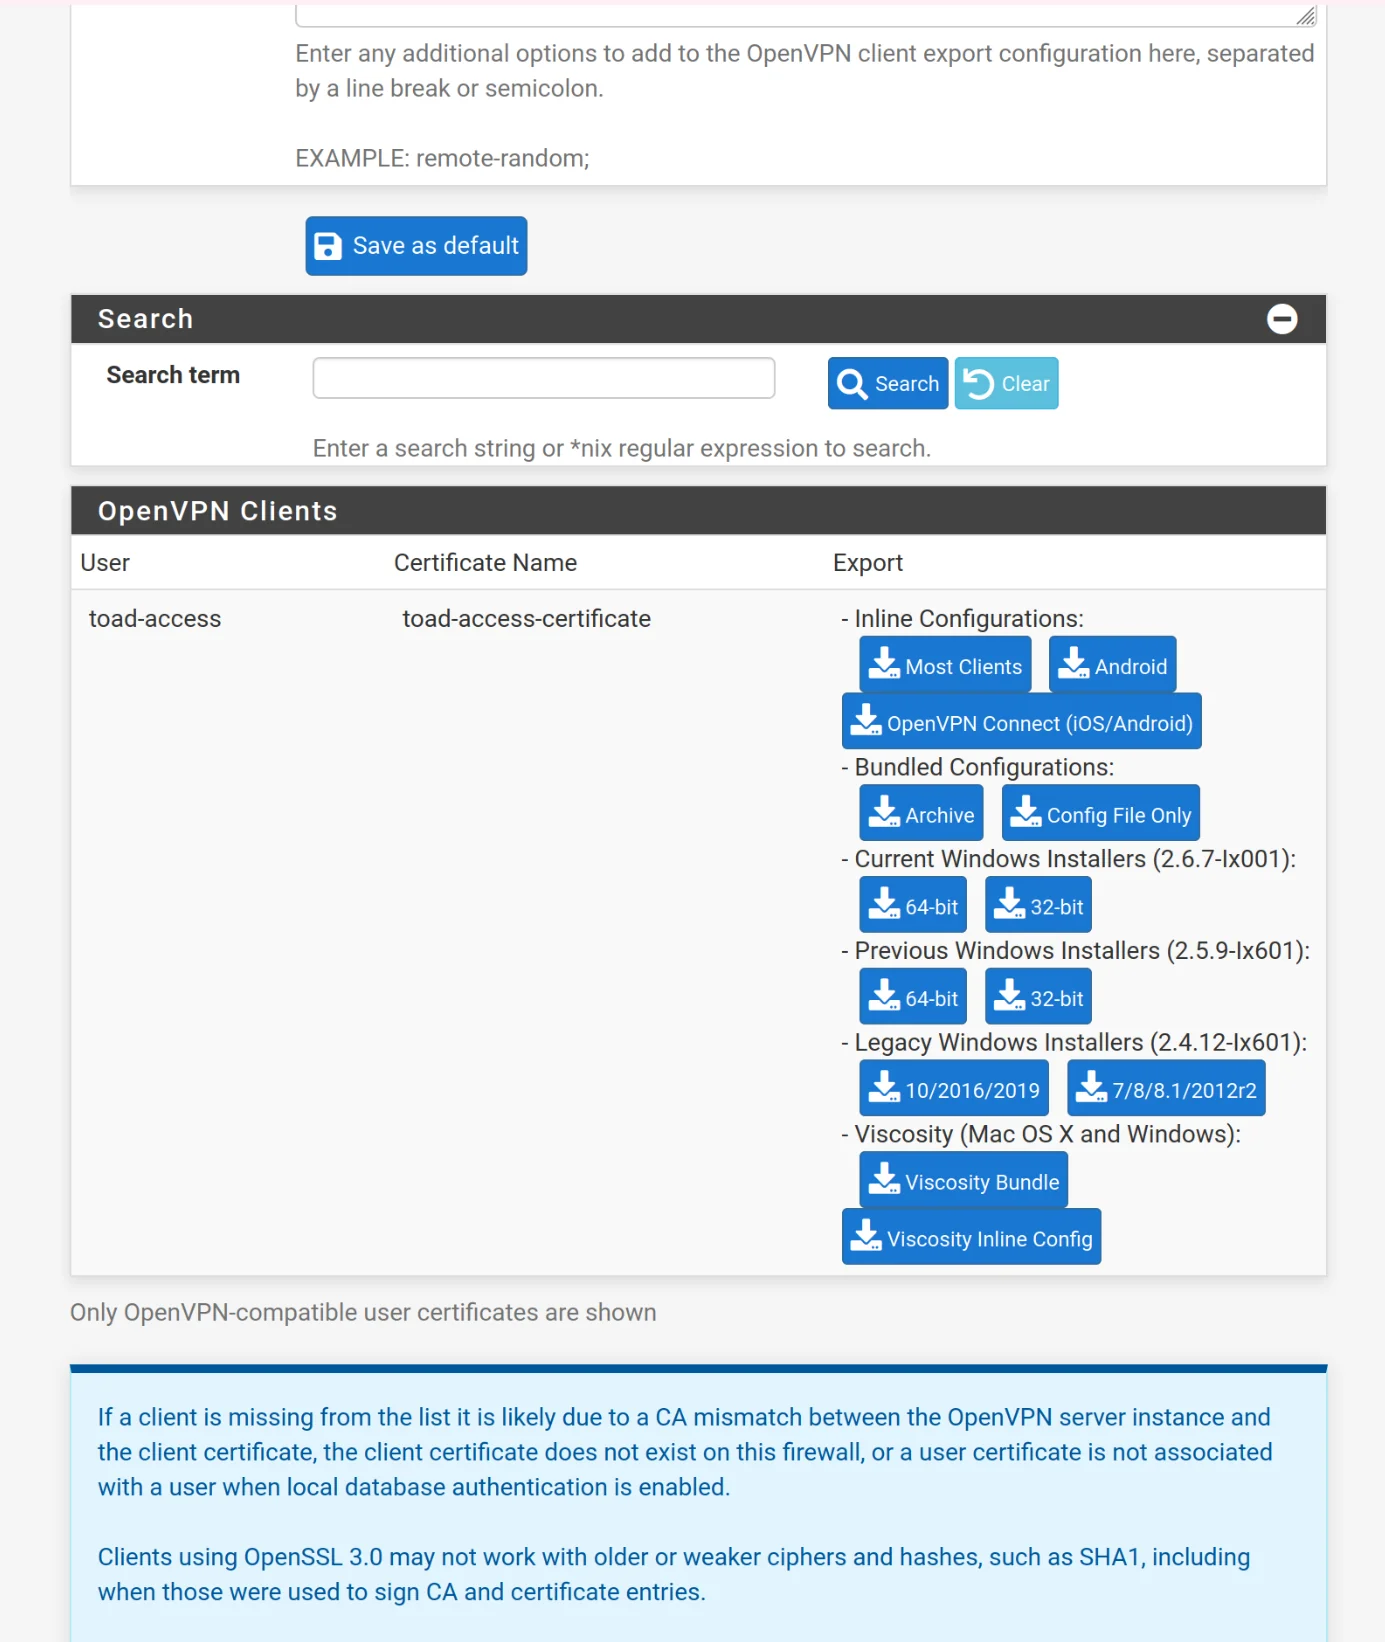
Once you have downloaded openvpn-client-export, go to VPN -> OpenVPN -> Client Export
Under Host Name Resolution, choose Other to have the option to put your server's IP address as the hostname/IP address that the client will use to connect to this server.
- Host Name Resolution: Other
- Host Name: your server's IP address
- Find your user in the list of OpenVPN clients and download the Inline Configurations for Most Clients
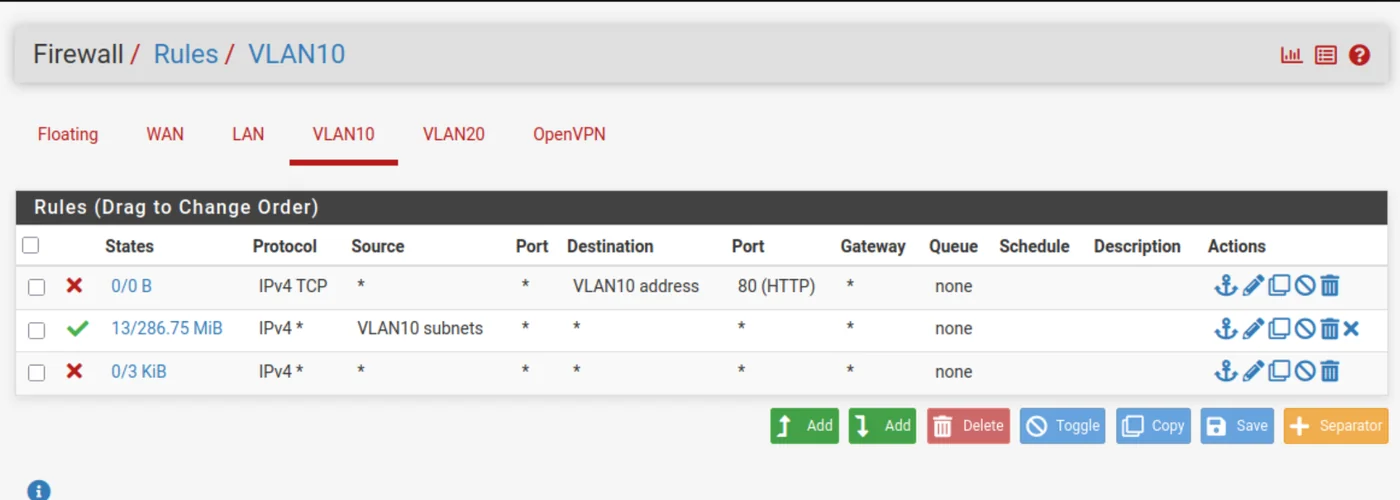
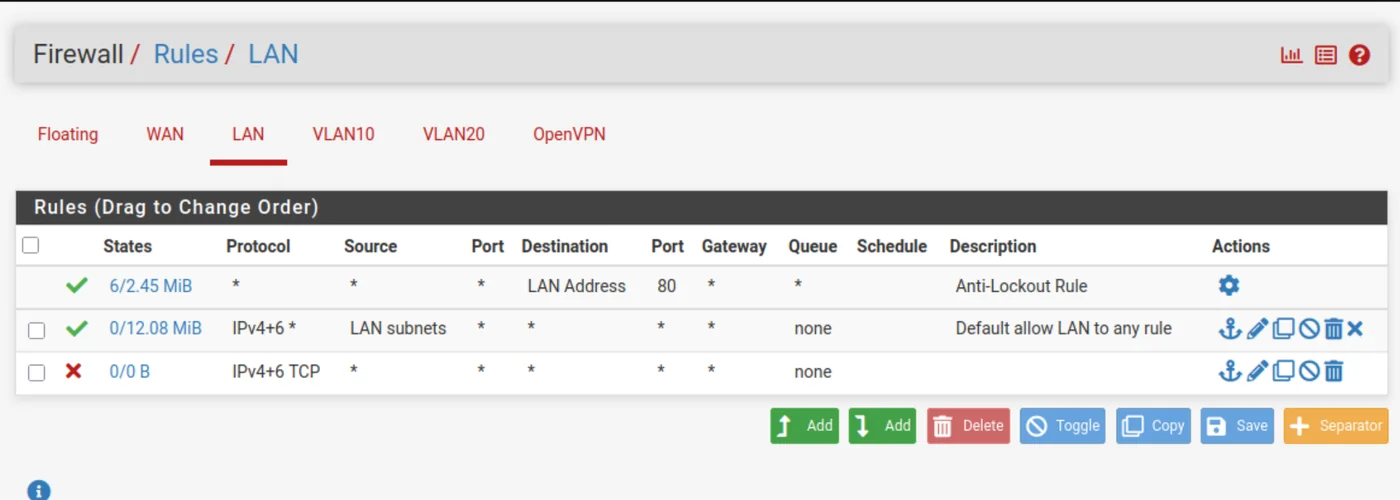
Now, we will allow connections to our VLAN10 via the VPN.

Connect via your VPN using sudo openvpn pfSense-….ovpn with the file you just downloaded from the client export utility.
To verify that everything is working, you can run route on your local machine and you should see a new route pointing to the GOAD lab network: 192.168.10.0/24.
Install Trapster
GOAD is ready for hacking! But for an additional challenge, we can add a Honeypot to the internal network.
Start by finding the link to a debian iso image here: https://cdimage.debian.org/debian-cd/current/amd64/iso-cd/
You can then go to local -> ISO Images -> Download from URL and paste this url.
Then create a new virtual machine called trapster-community in the same Node and Resource Pool.
Use a CD/DVD image file and select the downloaded Debian. Make sure to place this VM on the vmbr3 bridge with the VLAN Tag set to 10 to place it in the internal GOAD network. You can choose to set a static IP or it should receive one automatically in the range 192.168.10.100 - 192.168.10.255 via DHCP.
Follow the official docker documentation for Debian to install docker on our new Debian VM.
Finally, install Trapster by following the community guide at: https://docs.trapster.cloud/community/install/docker.